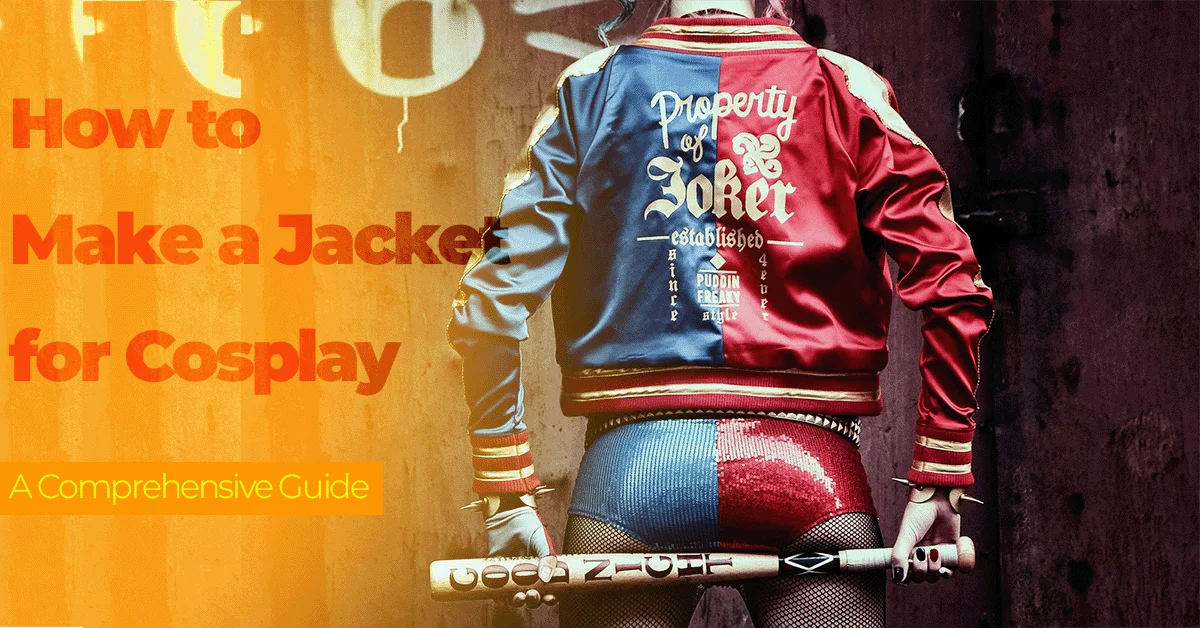
Creating a jacket for cosplay is an exciting and rewarding endeavor, allowing you to bring your favorite characters to life with your unique touch. This in-depth guide will walk you through the entire process, ensuring you can craft a stunning jacket cosplay piece that stands out. From selecting materials to finalizing details, follow these steps to achieve professional results.
Introduction
Cosplay, short for “costume play,” involves dressing up as characters from anime, movies, video games, and other pop culture sources. A well-crafted jacket can be the centerpiece of your cosplay, capturing the essence of the character you’re portraying. Whether you’re a novice or an experienced crafter, this guide provides detailed instructions to help you create a jacket cosplay that’s both impressive and accurate.
Materials Needed
Before starting your project, gather all necessary materials:
- Fabric: Choose based on the character’s jacket. Common options include cotton, faux leather, polyester, and sometimes more specialized fabrics like wool or spandex.
- Sewing Machine: Essential for assembling the jacket.
- Pattern Paper: For drafting your jacket’s design.
- Tailor’s Chalk or Fabric Markers: For marking the fabric.
- Scissors: Fabric scissors for cutting materials precisely.
- Pins and Needles: For holding fabric pieces together while sewing.
- Fasteners: Such as zippers, buttons, or Velcro, depending on the design.
- Decorative Elements: Patches, studs, embroidery threads, etc., to add character-specific details.
Step-by-Step Guide
1. Research and Design
Start by thoroughly researching your character’s jacket. Look for detailed images from various angles to understand all features. Reference websites and forums offer excellent sources of inspiration and community support.
Design Elements to Consider:
- Color and Fabric Texture: Ensure you choose materials that closely match the character’s original look.
- Jacket Style: Note whether the jacket is a bomber, trench coat, blazer, etc.
- Details and Accessories: Identify unique elements like patches, insignias, or specific fasteners.
2. Create a Pattern
Drafting a pattern is a critical step in making a jacket cosplay. You can either create your pattern from scratch or modify an existing commercial pattern to suit your needs.
Creating the Pattern:
- Measurements: Take accurate body measurements, including chest, waist, hips, shoulders, and arm length.
- Drafting: Use pattern paper to draw out each part of the jacket. Include seam allowances (typically 1/4 to 1/2 inch).
- Mock-up: Consider making a mock-up with muslin or another inexpensive fabric to test the fit before cutting into your final material.
3. Cut the Fabric
Once your pattern is ready and tested, transfer it to your chosen fabric. Pin the pattern pieces onto the fabric and cut carefully, ensuring you follow the grainline for proper drape and fit.
Cutting Tips:
- Sharp Scissors: Use sharp fabric scissors to avoid fraying.
- Marking: Use tailor’s chalk or fabric markers to outline the pattern pieces on the fabric.
- Double Check: Make sure to double-check the placement and alignment of patterns before cutting.
4. Assemble the Jacket
With your fabric pieces cut, it’s time to start sewing.
Assembly Steps:
- Sew the Main Pieces: Begin by stitching the back and front panels together at the shoulders. Then attach the side seams.
- Add Sleeves: Pin and sew the sleeves into the armholes. Make sure to ease the sleeves in to prevent puckering.
- Install Fasteners: Depending on the design, sew in zippers, buttons, or Velcro. Ensure they are aligned and functional.
- Lining: If your jacket requires a lining, sew it separately and attach it to the main jacket, typically at the collar, front edges, and hem.
5. Add Decorative Elements
This step involves adding all the unique details that make your jacket recognizable.
Decorative Additions:
- Patches and Insignias: Sew or iron-on patches as per the character’s design.
- Embroidery: Add any embroidery by hand or using an embroidery machine.
- Studs and Rivets: Carefully attach any metal studs or rivets. Tools like rivet setters can be useful here.
6. Final Touches
To ensure your jacket cosplay looks polished and professional, pay attention to the final touches.
Finalizing Steps:

- Hem Edges: Hem the bottom of the jacket, sleeves, and any other raw edges.
- Press Seams: Use an iron to press all seams flat. This helps the jacket look neat and finished.
- Fit Check: Try on the jacket to check for any adjustments. Ensure that it fits comfortably and accurately reflects the character’s style.
Tips for Success
Plan and Practice: Take your time planning each step. If you’re new to certain techniques, practice on scrap fabric first.
Use Quality Materials: Investing in good materials can make a significant difference in the final appearance and durability of your jacket.
Seek Feedback: Share your progress with the cosplay community. Online platforms are great for getting feedback and advice.
Conclusion
Creating a jacket cosplay is a detailed and rewarding project. By carefully researching, designing, and assembling your jacket, you can create a piece that truly embodies your favorite character. Whether you’re preparing for a convention or just enjoying the crafting process, this guide provides the foundation you need to succeed. Happy cosplaying!
FAQs
Q: How do I choose the right fabric for my cosplay jacket?
A: Consider the character’s original design. Common fabrics include cotton for casual looks, faux leather for a more rugged appearance, and polyester blends for flexibility and ease of sewing.
Q: What if I don’t have a sewing machine?
A: While a sewing machine makes the process faster, you can hand-sew the jacket. Use strong, even stitches and take your time to ensure durability.
Q: Can I modify an existing jacket instead of making one from scratch?
A: Absolutely! Modifying an existing jacket can save time and effort. Look for a jacket that closely matches your character’s style and add the necessary details.