Introduction
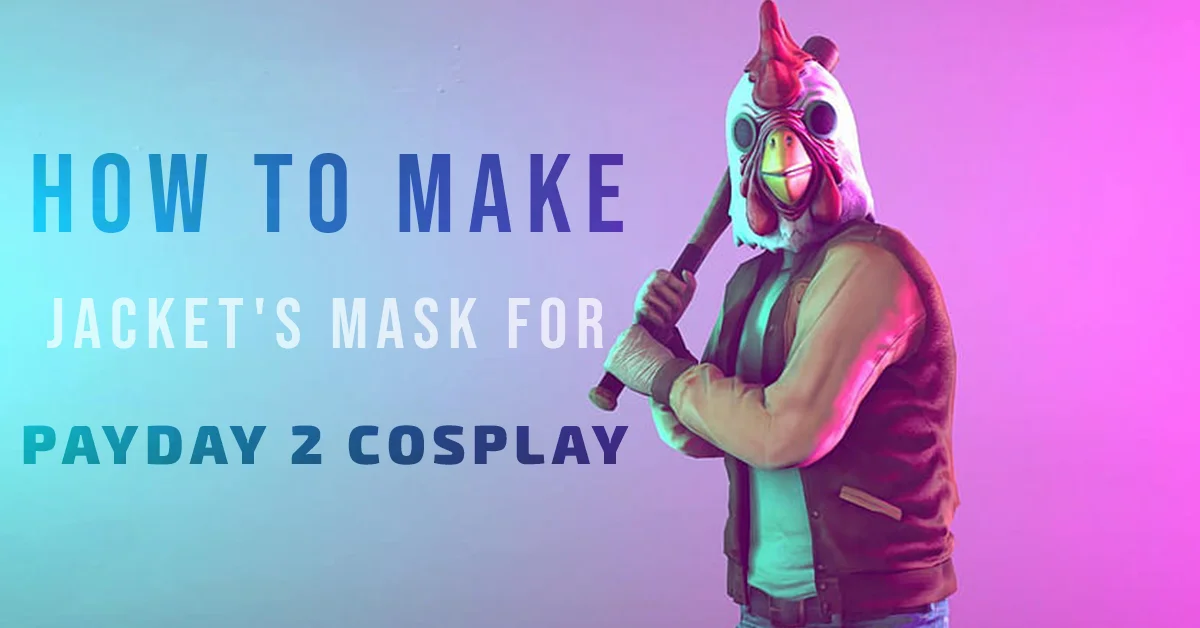
Payday 2, a popular cooperative first-person shooter game, features a wide array of unique and intriguing characters. One of the fan favorites is Jacket, a character known for his enigmatic persona and distinctive mask. If you’re looking to create an authentic Jacket cosplay, the mask is a crucial component. In this guide, we’ll walk you through the steps to make Jacket’s mask, ensuring your cosplay stands out at any event.
Materials Needed
Before diving into the crafting process, gather the following materials:
- White plastic mask base (available at most craft stores)
- Acrylic paints (red, black, and white)
- Paintbrushes (various sizes)
- Craft knife
- Sandpaper (fine grit)
- Masking tape
- Elastic band (for securing the mask)
- Protective gloves and goggles
- Reference images of Jacket’s mask from Payday 2
Step-by-Step Guide
Step 1: Preparing the Mask Base
- Clean the Mask Base: Start by cleaning the plastic mask base with soap and water to remove any dirt or oils. Dry it thoroughly.
- Sand the Surface: Use fine-grit sandpaper to lightly sand the mask’s surface. This will help the paint adhere better.
- Apply Masking Tape: Use masking tape to cover areas of the mask you don’t want painted initially, following the reference images closely.
Step 2: Painting the Mask
- Base Coat: Apply a base coat of white acrylic paint to the entire mask. Let it dry completely before proceeding.
- Detailing: Using reference images, start painting the red and black details on the mask. Pay special attention to the iconic red stripes and black accents around the eyes and mouth area.
- Layering Paint: Apply multiple layers of paint to achieve a vibrant and durable finish, allowing each layer to dry before adding the next.
Step 3 Finishing Touches
- Fine Details: Once the main paint job is complete, use a fine brush to add any small details or touch-ups needed.
- Sealing the Paint: Optionally, you can apply a clear acrylic sealer to protect the paint and give the mask a glossy finish.
- Attaching the Elastic Band: Cut the elastic band to fit around your head comfortably and attach it to the mask using a strong adhesive or by cutting small slits on the mask’s sides to thread the band through.
Tips for Authenticity
- Use Reference Images: Constantly refer to images of Jacket’s mask from Payday 2 to ensure accuracy in your design.
- Weathering Effects: For a more authentic look, add weathering effects by lightly sanding certain areas or adding smudges and scratches with darker paint shades.
- Comfort and Fit: Ensure the mask fits comfortably and securely. Adjust the elastic band as needed for a snug fit.
Conclusion
Creating Jacket’s mask for your Payday 2 cosplay can be a fun and rewarding project. By following these steps and paying attention to details, you’ll have a mask that not only looks great but also adds a significant level of authenticity to your cosplay. Happy crafting, and may your next cosplay event be a heist of success!